 Save
Save My sister called me three weeks before her graduation asking if I could help with the celebration, and I immediately pictured a stuffy dessert table with sad sheet cakes. Then she said she wanted something that looked like a garden exploded in the best way possible, and suddenly I was researching edible flowers at midnight like it was a final exam. The moment I arranged my first fruit display with those delicate purple pansies tucked between ruby strawberries, I understood why she'd asked—this wasn't just food, it was a statement.
I set this out for my friend's garden party last summer, and I watched her eight-year-old daughter point to each flower like she was discovering them for the first time. Someone's grandmother asked if the flowers were real, and when I said yes, she got genuinely emotional about how pretty it was. That's when I realized this display does something most desserts can't—it makes people feel celebrated just by looking at it.
Ingredients
- Seedless green grapes (3 cups): These create a bright, crisp base that contrasts beautifully with darker fruits and won't stain your hands.
- Seedless red or black grapes (3 cups): The deepest color on your table, they anchor the design and taste like candy without the guilt.
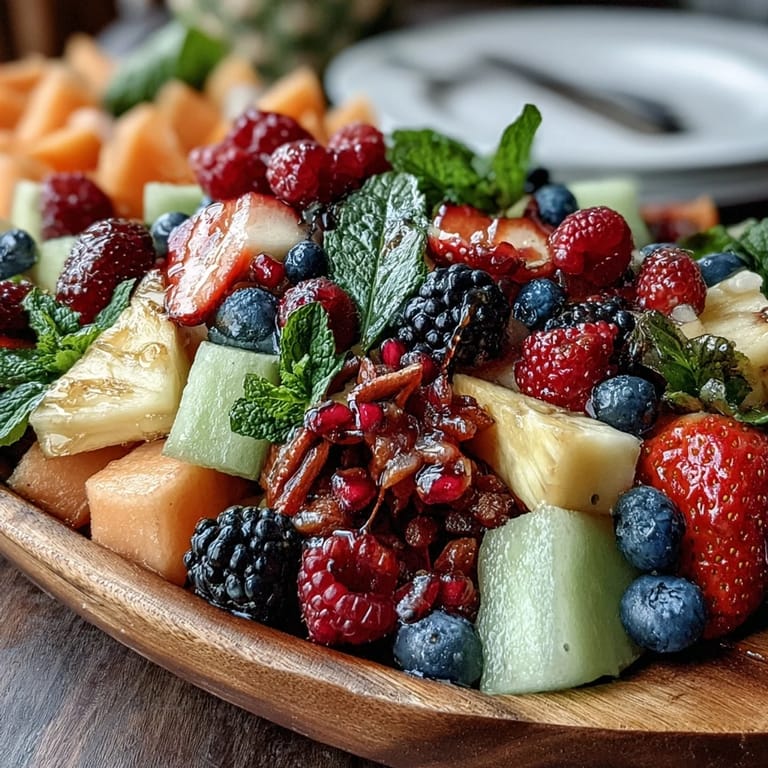
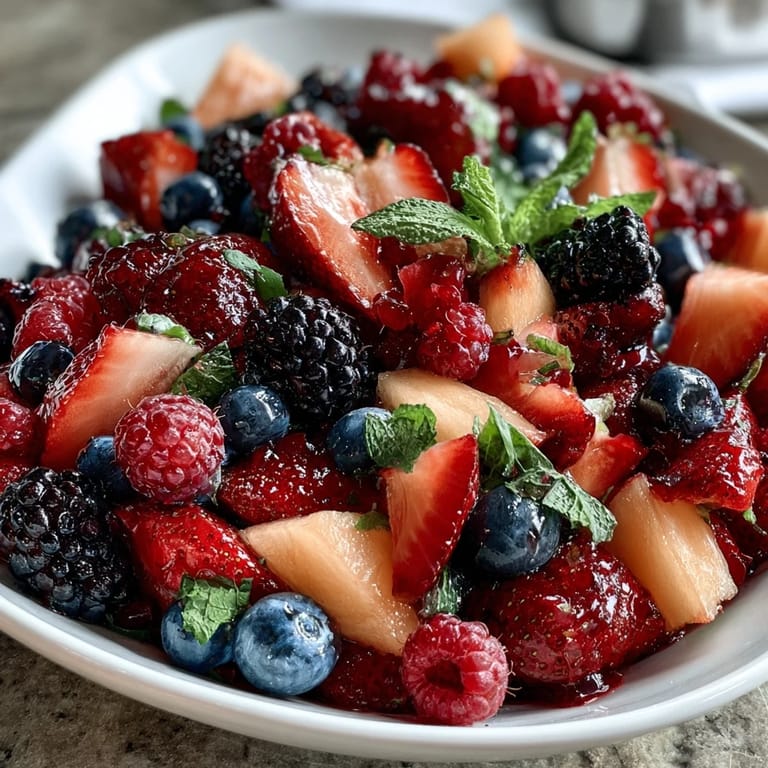
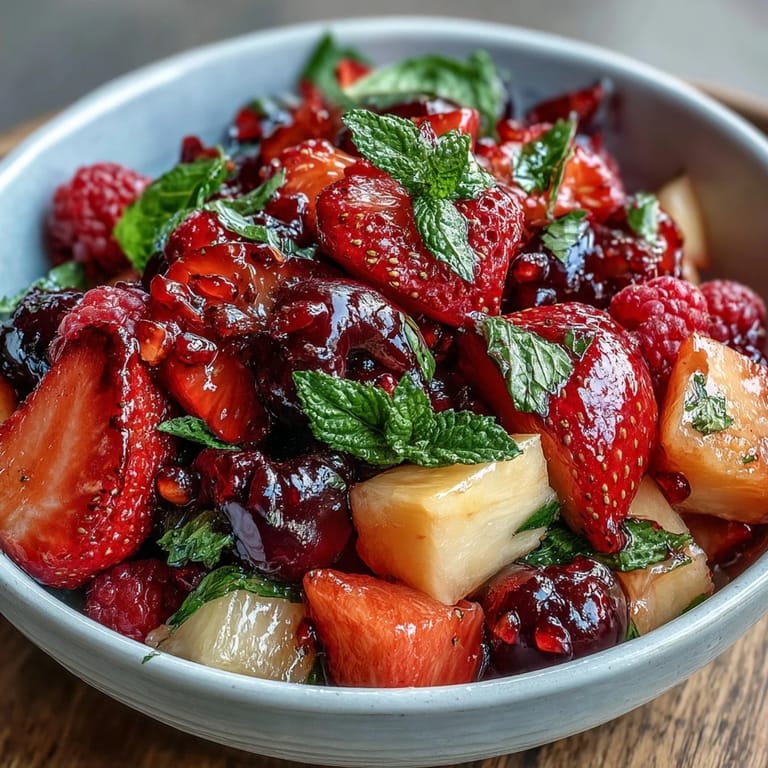
- Strawberries (2 cups, hulled and halved): Their red is almost neon when arranged right, and halving them shows off that gorgeous interior.
- Pineapple (2 cups, bite-sized): The golden chunks add tropical brightness and a subtle tartness that balances all the sweetness.
- Watermelon (2 cups, wedges or balls): If using a melon baller, it creates these perfect jewel-like spheres that people find irresistible.
- Cantaloupe (2 cups, wedges or balls): The peachy-orange brings warmth to the display and tastes refreshing rather than heavy.
- Blueberries (2 cups): These tiny gems fill gaps and add sophisticated depth with their dark blue color.
- Raspberries (2 cups): Fragile and elegant, arrange them last since they're delicate and prone to falling apart.
- Kiwis (2, peeled and sliced): That neon green is practically electric—it photographs beautifully and tastes bright and slightly tart.
- Oranges (2, peeled and segmented): Fresh segments beat canned every time, and the natural juice brings everything together.
- Edible flowers (1 cup, pesticide-free): This is where the magic happens—pansies, violas, nasturtiums, marigolds, and borage are all stunning and safe when sourced correctly.
- Fresh mint leaves (optional): They bridge the flowers and fruit visually and add a whisper of freshness when someone brushes against them.
- Lemon slices (1 lemon, optional): A garnish that also prevents browning on cut surfaces if you're setting this up a bit early.
Tired of Takeout? 🥡
Get 10 meals you can make faster than delivery arrives. Seriously.
One email. No spam. Unsubscribe anytime.
Instructions
- Wash and Dry Everything:
- Run all your fruits and flowers under cool water, being especially gentle with berries and blossoms. Pat everything dry carefully with paper towels—moisture is your enemy if you want this to look crisp when guests arrive.
- Cut and Prepare:
- Slice larger fruits into bite-sized pieces and use a melon baller if you have one for those perfect cantaloupe and watermelon spheres. The more uniform the sizes, the easier it is to create those satisfying color patterns.
- Choose Your Canvas:
- Find a large, clean serving board or table—I've used everything from a marble slab to a plain white sheet, and the simpler your background, the more the fruit colors pop. Make sure it's at a height where people can reach easily without leaning awkwardly.
- Build Your Design:
- Start by arranging fruits in colorful sections or a gradient pattern—this is where you get to be creative and artistic. Overlap pieces slightly so there's no dead space, and step back occasionally to see how the colors balance.
- Add the Flowers:
- Tuck edible flowers and mint leaves into gaps and along the edges, treating them like jewelry for your fruit display. The flowers should look like they're nestled naturally among the fruit, not placed on top like an afterthought.
- Final Touches and Chill:
- Add lemon slices around the edges if using them, then cover loosely with plastic wrap and refrigerate until serving time. Set everything out just before guests arrive to keep the fruit crisp and the flowers fresh-looking.
 Save
Save After the graduation party ended, my sister texted me a photo of the fruit table with everyone gathered around it, and I realized this simple display had become part of the memory they'd all carry forward. Food can be that way sometimes—it's not about being complicated, it's about being beautiful enough to make people feel special.
Sourcing Edible Flowers Safely
This is the part that feels intimidating but really isn't once you know where to look. Local farmers markets often have vendors selling certified edible flowers, or you can order them from specialty food websites that specifically source them for consumption. I've learned to always ask directly whether the flowers are pesticide-free and food-grade before buying—most vendors are thrilled to confirm because they know people are rightfully cautious.
Seasonal Fruit Swaps That Work
Summer is easy because every berry and melon is at peak season, but I've made versions of this year-round by adapting to what's available and looks gorgeous. In winter, I lean into pomegranate seeds, persimmons, and citrus; in spring, I hunt down fresh mango and papaya; and fall means grapes and apple slices (tossed in a tiny bit of lemon juice to prevent browning). The structure stays exactly the same—you're just rearranging the color palette based on what's at your market.
Setup Tips for Different Spaces
I've done this on everything from a formal dining table to a picnic blanket, and what matters most is considering your guests' comfort. Make sure the surface is sturdy enough that it won't tip when someone reaches across it, and if you're outdoors, set it up in shade or under a tent so the fruit doesn't get sun-warmed. If you're confined on space, build vertically by using tiered cake stands or stacking boards, which actually creates an even more dramatic visual impact than a flat arrangement.
- Test your serving space the day before to make sure it's clean, level, and positioned where people naturally gather.
- Keep a backup supply of fruit in the fridge to refill any gaps that form as guests eat.
- Have small plates and toothpicks nearby so people can serve themselves without their hands getting sticky.
 Save
Save This fruit table taught me that celebration food doesn't have to be complicated to be memorable. It just needs to be made with the kind of care that makes people feel genuinely valued.
Recipe Q&A
- → What types of fruits work best for this fruit table?
Seedless grapes, berries, melons, kiwi, oranges, and pineapple offer a colorful mix of flavors and textures that complement the edible flowers beautifully.
- → Are there any tips for arranging the fruit display attractively?
Arrange fruits in overlapping sections or patterns on a large clean surface, mixing colors and shapes. Tuck edible flowers and mint leaves between clusters for a vibrant, elegant look.
- → Which edible flowers are recommended and safe to use?
Use food-grade edible flowers such as pansies, violas, nasturtiums, marigolds, or borage, ensuring they are pesticide-free and certified safe for consumption.
- → How should the fruit table be stored before serving?
Keep the assembled fruit table chilled until it's time to serve, or arrange it shortly before the event to maintain freshness and prevent wilting.
- → Can I add garnishes or dips to complement the fruit table?
Yes, fresh mint leaves and lemon slices add zest, while optional honey-yogurt or coconut dips provide tasty accompaniments enhancing the overall experience.