 Save
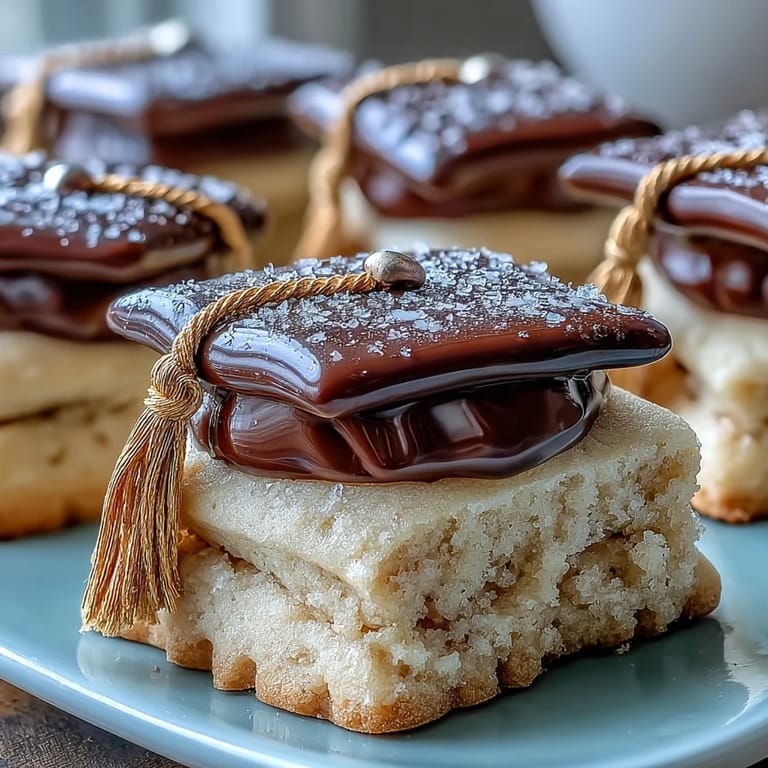
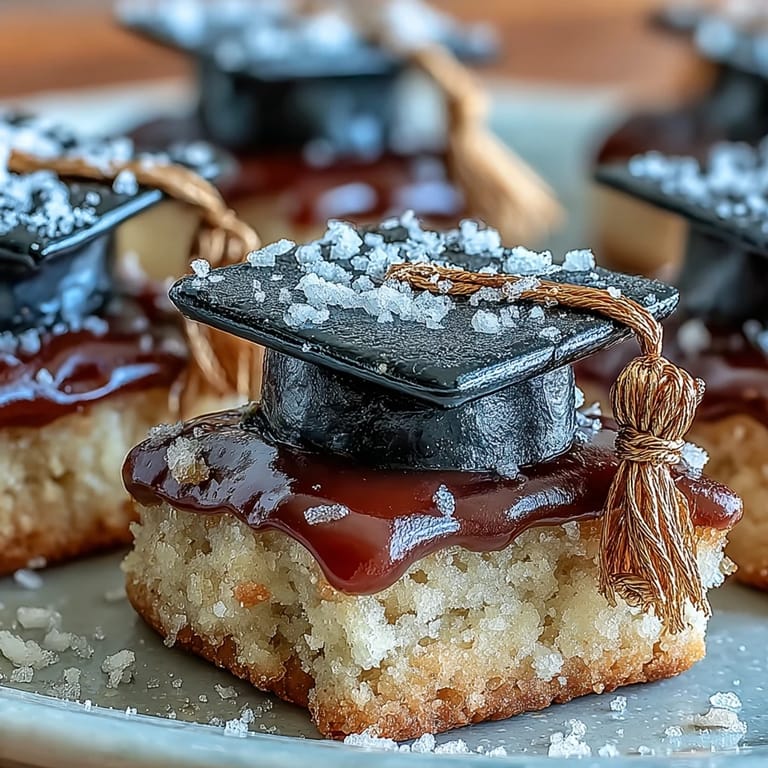
Save My kitchen was filled with laughter and a sprinkling of powdered sugar the first time I tried making graduation cookies for my cousin&aposs big day. I hadn&apost attempted intricate cookie decorations in ages—let alone ones in the shape of diplomas and graduation caps—so it was equal parts intimidating and exciting. As the buttery scent of baking sugar cookies mingled with the sharper tang of vanilla and almond, I felt a giddy sense of occasion. Even the thought of painting on edible gold details made me feel like a kid playing with art supplies. These celebratory cookies quickly became a show-stopping centerpiece among all the party treats.
The day I made these for my sister&aposs graduation, I roped in my youngest niece to help with the royal icing. Between giggles, we painted gold tassels and accidentally dyed our fingers black, but every cookie felt like a mini work of art made just for her.
Ingredients
- All-purpose flour: This is the backbone of tender, sturdy cookies that hold their shape—be sure to spoon and level for consistent results.
- Unsalted butter: Room temperature butter is key for that creamy texture; give it a gentle poke, and if your finger sinks in easily, it&aposs ready to go.
- Granulated sugar: Classic sweetness that melds with the butter for a subtly crisp chew.
- Egg: The egg binds it all together and delivers that golden-brown edge when baked.
- Pure vanilla extract: Don&apost skimp—real vanilla is what gives that nostalgic, bakery-fresh aroma.
- Almond extract (optional): A single splash adds depth, but switch to lemon extract if you like a brighter note.
- Salt: You may underestimate the power of just half a teaspoon, but it wakes up the flavors of everything else.
- Powdered sugar: Sifted to get that impossibly smooth icing—lumps will show, so take this step seriously.
- Egg whites or meringue powder: The secret to sturdy, glossy royal icing, and meringue powder is a handy substitute if you&apose concerned about raw eggs.
- Cream of tartar: This stabilizes your icing and helps those beautiful peaks stay upright.
- Black gel food coloring: Intensely pigmented so you can get true black caps without accidentally watering down your icing.
- Gold edible luster dust: Mixed with clear alcohol or lemon extract, this brings an elegant shimmer to tassels and ribbons—you&aposll want a tiny paintbrush for fine lines.
Tired of Takeout? 🥡
Get 10 meals you can make faster than delivery arrives. Seriously.
One email. No spam. Unsubscribe anytime.
Instructions
- Cream the butter and sugar:
- Beat butter and sugar together until the mixture is pale and fluffy, and you can hear the beater thwacking against the bowl.
- Add the eggs and flavorings:
- Crack in the egg, pour in vanilla and almond extract (if you like), then mix until smooth and dreamy.
- Mix in flour and salt:
- Sprinkle in the flour and salt gradually, mixing until the dough just comes together and pulls away from the sides.
- Chill the dough:
- Divide and flatten the dough into discs, wrap tightly, then chill for at least 45 minutes—skip this and you&aposll be chasing blobs on your baking sheet.
- Shape and cut:
- Roll dough on a floured surface to 1/4-inch thick, then press out diploma and cap shapes with your cutters—peel scraps away gently to keep edges sharp.
- Bake:
- Arrange cookies on lined sheets and bake until just golden around the edges, about 8–10 minutes; cool completely on racks so the icing won&apost melt.
- Prepare royal icing:
- Beat egg whites until frothy, then gradually add sifted powdered sugar and cream of tartar—keep beating until you&aposve got billowy, shiny peaks, then stir in vanilla.
- Color and portion icing:
- Divide icing—tint some black for caps, keep some white for diplomas, and reserve a bit for mixing with gold luster later.
- Decorate:
- Pipe outlines on your cookies, flood the insides, then add details for the cap bands and ribbon ties; let them set for at least one hour so everything stays crisp.
- Gold finishing touches:
- Mix edible gold luster with a splash of alcohol and paint on tassels and ribbons—you&aposll watch the gold magically appear as it dries.
 Save
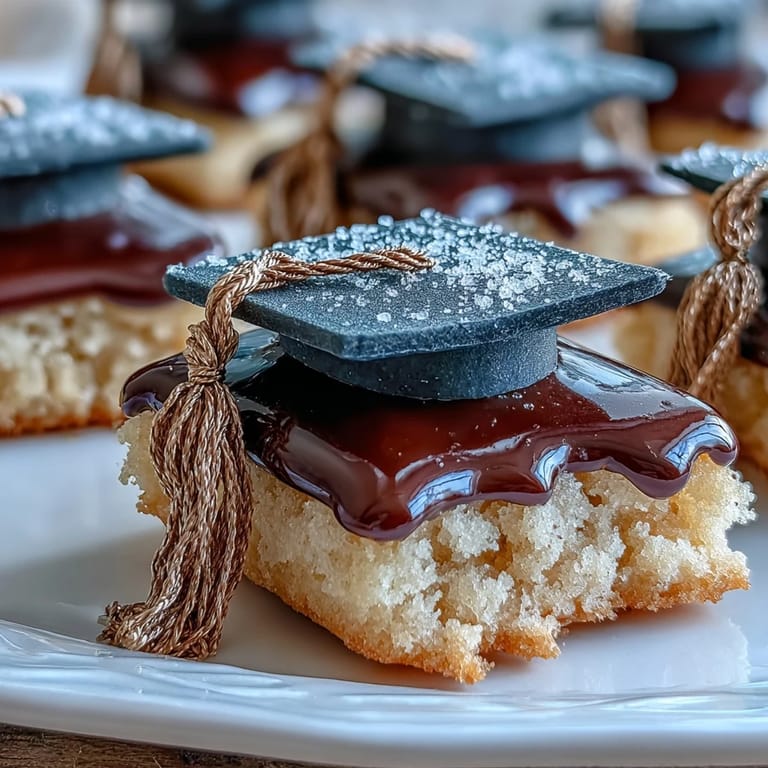
Save Watching a table full of college grads marvel at their edible diplomas, I realized these cookies aren&apost just snacks—they set the tone for a celebration and spark selfies, conversations, and laughter in a way nothing store-bought ever could.
Getting the Perfect Cookie Cut-Outs
Try rolling your dough between two sheets of parchment to prevent sticking—no extra flour needed, and your shapes stay crisp. If the dough gets too soft, pop it in the fridge for five minutes before cutting again; this keeps edges neat and your cookies looking picture perfect.
Royal Icing: Glossy, Not Stodgy
I learned the hard way not to rush mixing the icing; overbeating can make it stiff and dull rather than glossy. For smooth coverage, thin the icing with a drop or two of water until it easily flows off a spoon but still holds a line—test it first on a spare cookie or parchment.
Making Them Your Own: Color & Flair
Don&apost be afraid to swap in your graduate&aposs school colors or add extra details like sparkling sugar or edible glitter for extra personality. Adding lemon or orange zest to the dough (just half a teaspoon) brightens up the flavor and pairs beautifully with the almond extract.
- If piping feels tricky, start with the outlines and don&apost sweat imperfections—they&ll vanish after flooding.
- A little edible gold goes a long way—dip your brush in water and swish dry if the paint starts to clump.
- Let your creativity run wild; these cookies should look festive, not flawless.
 Save
Save These graduation cookies are as joyful to make as they are to share—perfect for marking a milestone or just reveling in a bit of edible pageantry together.
Recipe Q&A
- → Can I use meringue powder instead of fresh egg whites?
Yes. Substitute 4 tbsp meringue powder plus 6 tbsp water for the 2 egg whites to achieve a stable royal icing with similar stiffness and glossy finish.
- → How do I prevent the shapes from spreading in the oven?
Chill the dough thoroughly before rolling and avoid overworking it. Roll to a consistent 1/4" thickness and chill cut shapes briefly on the sheet before baking to help them hold detail.
- → What’s the best consistency for piping and flooding?
Use a thicker 'outline' consistency for piping edges, then thin some icing slightly with small amounts of water to a flood consistency for filling. Test on parchment first to gauge flow.
- → How do I make the gold accents safe and shiny?
Mix edible gold luster dust with a few drops of clear food-grade alcohol or lemon extract to form a paint; brush onto dry icing. Ensure the luster dust is labeled food-safe.
- → Can these be prepared ahead of time?
Yes. Fully decorated pieces can be stored in an airtight container at room temperature up to one week. Ensure icing is completely dry before stacking to avoid smudging.
- → Any tips for getting crisp black icing?
Use concentrated gel black color and add it sparingly to avoid thinning. Mix thoroughly and let the colored portion rest briefly to deepen the shade before piping.