 Save
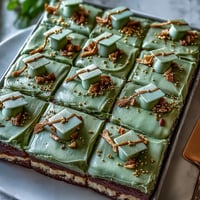
Save The afternoon sun hit my kitchen window just as the first batch came out of the oven, and that roasted hojicha aroma filled the entire apartment. I had been experimenting with tea in desserts for months, but something about combining earthy Japanese roasted tea with the classic American brookie concept felt unexpectedly right. My roommate walked in from work and immediately asked what I was baking, mentioning it smelled like a cozy café in Kyoto.
I first brought these to a small dinner party last fall, and my friend Sarah who claims to not like desserts kept going back for thirds. She said the earthy tea flavor balanced out the sweetness perfectly, making them feel less guilt-inducing than regular brownies. Now they are my go-to whenever I need something that feels special but does not require three days of preparation.
Ingredients
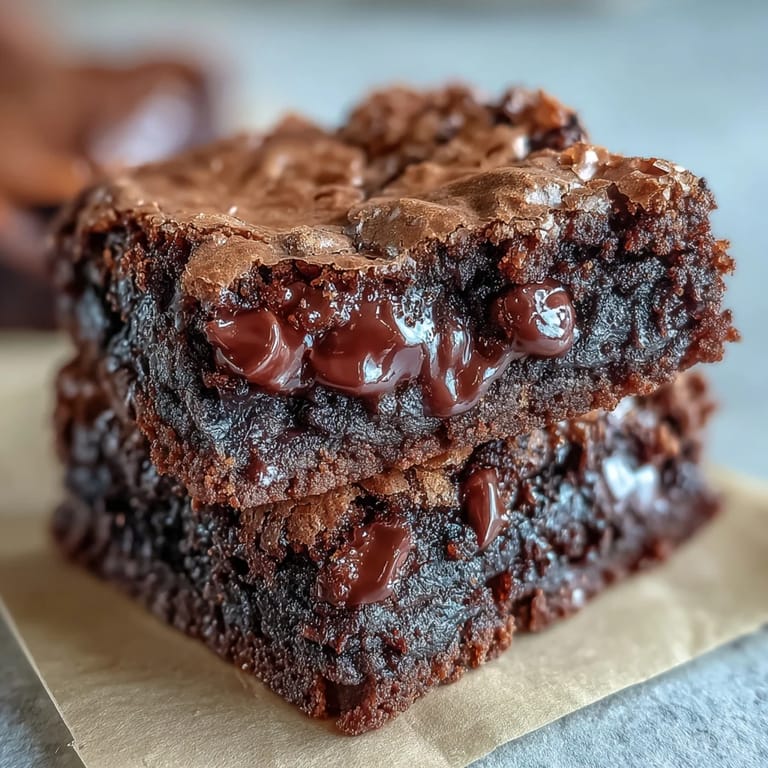
- Unsalted butter: Use room temperature butter for the cookie layer to ensure proper creaming, but melt it for the brownie layer to create that signature fudgy texture
- Bittersweet chocolate: Quality matters here since the tea flavor is subtle, so choose a chocolate you enjoy eating on its own
- Hojicha powder: Made from roasted green tea leaves, this has a naturally sweet, nutty profile that pairs beautifully with chocolate
- Eggs: Room temperature eggs incorporate better into both batters, preventing that dreaded greasy layer on top
- All purpose flour: Do not pack the flour when measuring, or your brownies will turn out cakey instead of dense
- Chocolate chips: Dark chocolate chips provide contrast to the milk chocolate in the brownie layer, but milk or semi sweet work too
Tired of Takeout? 🥡
Get 10 meals you can make faster than delivery arrives. Seriously.
One email. No spam. Unsubscribe anytime.
Instructions
- Prep your pan:
- Pan preparation is crucial for clean edges and easy removal later
- Melt chocolate and butter:
- Stir constantly over gentle heat until completely smooth and glossy
- Build the brownie base:
- Whisk sugars into the warm chocolate mixture before adding eggs to prevent scrambling
- Combine dry ingredients:
- Sift the hojicha powder especially well since it tends to clump
- Cream cookie dough:
- Beat butter and sugars for at least three minutes until pale and fluffy
- Layer and swirl:
- Drop cookie dough randomly over brownie batter, then gently marble together
- Bake until set:
- The edges should be slightly pulling away from the pan while the center still looks soft
 Save
Save My mother now requests these every time she visits, saying they remind her of the brownies her grandmother used to make but with an elegant twist. There is something comforting about watching people's faces when they bite in, expecting a regular chocolate dessert and getting this complex, tea infused surprise instead.
Working With Hojicha Powder
Hojicha differs from matcha because the leaves are roasted, giving it a reddish brown color and lower caffeine content. The powder can be stubborn about dissolving, which is why sifting is non negotiable. I learned this the hard way when my first batch had tiny specks of bitter tea powder throughout. Sifting twice if needed is better than having gritty clumps in your final brookie.
Getting the Perfect Marble
The marble effect looks intimidating but actually requires zero technique. Drop cookie dough in spoonfuls across the brownie batter, then run a butter knife through once or twice in a figure eight pattern. Do not overthink it, and definitely do not try to fully combine the two layers. Those distinct pockets of cookie and brownie are what make brookies special in the first place.
Storage and Serving Suggestions
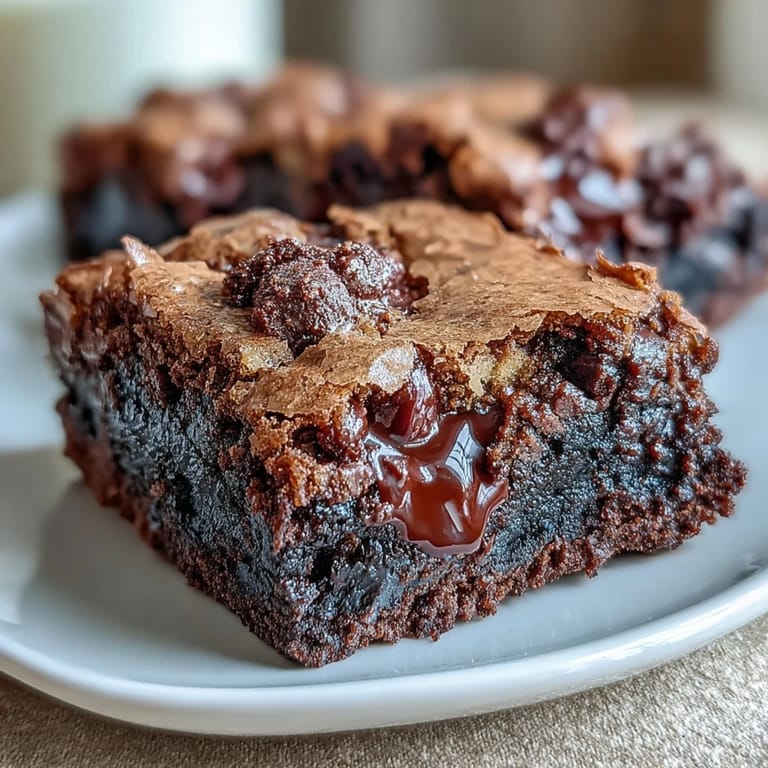
These actually improve after sitting overnight, as the flavors meld together and the texture becomes even more fudgy. Store them in an airtight container with a piece of bread to maintain moisture, and they will stay fresh for three to four days. For longer storage, wrap individual squares tightly and freeze for up to three months.
- Warm a square for 15 seconds in the microwave before serving
- Serve with vanilla bean ice cream to highlight the tea notes
- Dust with extra hojicha powder right before serving for a restaurant quality finish
 Save
Save Every time I make these, I am reminded of why I love experimenting in the kitchen. Sometimes the most unexpected combinations become the ones we cannot imagine living without.
Recipe Q&A
- → What makes hojicha special in baking?
Hojicha is roasted Japanese green tea with a naturally toasty, nutty flavor profile that pairs beautifully with chocolate. Unlike matcha's grassy notes, hojicha's warmth creates depth in desserts without overpowering other ingredients.
- → Can I use regular green tea instead?
Regular green tea lacks hojicha's roasted character and intensity. Matcha will work but produces a grassier flavor. For closest results, use Chinese roasted green tea or increase the amount of regular tea powder significantly.
- → Why do the cookie and brownie layers have different butter amounts?
Brownies require more melted butter for that dense fudgy texture, while cookies need less softened butter to maintain structure and achieve crisp edges. This balance ensures both layers bake evenly without becoming too heavy or too dry.
- → How do I know when they're done baking?
Look for golden cookie tops with slightly set edges. A toothpick inserted in the center should emerge with moist crumbs rather than wet batter. The center will continue setting as it cools, so avoid overbaking.
- → Can I make these ahead of time?
These actually improve after a day as flavors meld. Store in an airtight container at room temperature for up to 3 days. They also freeze beautifully—wrap individual squares and freeze for up to 2 months.
- → What's the best way to cut clean squares?
Cool completely in the pan, then lift out using the parchment overhang. For cleanest cuts, use a sharp knife wiped clean between each slice. Chilling for 30 minutes before cutting also helps achieve neat edges.