 Save
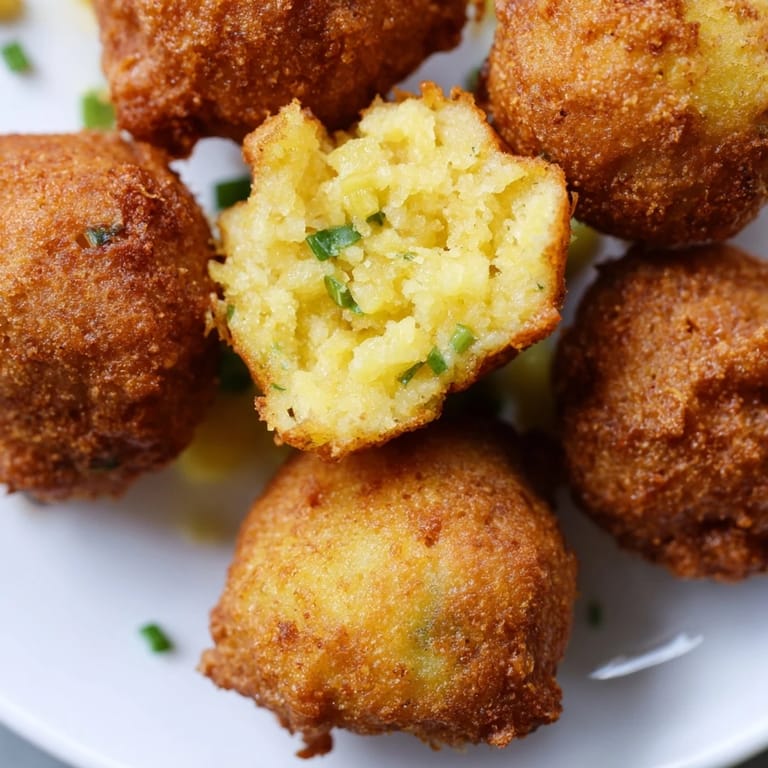
Save The first time I dropped a hushpuppy into hot oil, I wasn't sure what to expect—just a casual Saturday afternoon when my neighbor mentioned she'd learned to make them from her grandmother down in Georgia. I watched the batter puff up and turn golden, and suddenly understood why these little cornmeal orbs were so beloved. Now whenever I make a batch, that moment of anticipation comes rushing back: the sizzle, the aroma, that perfect crispy-outside-tender-inside texture that makes you reach for another one before the first has cooled.
I made these for a cookout last summer when someone brought fresh-caught catfish, and watching people's faces light up as they bit into their first hushpuppy was something special. One friend actually closed her eyes and said, "Where have these been my whole life?" That's when I realized these aren't just a side—they're the kind of food that creates memories, that sparks conversations about family recipes and childhood dinners by the water.
Ingredients
- Cornmeal (yellow, medium grind): This is the star, giving you that signature texture and subtle sweetness—medium grind is key because it's fine enough to cook through but coarse enough to stay interesting.
- All-purpose flour: Just enough to bind everything together without making them heavy or cake-like.
- Baking powder and baking soda: These create that delicate crumb and make sure they puff up beautifully in the oil.
- Buttermilk: The tang here is what makes hushpuppies taste like hushpuppies—don't skip it or substitute carelessly.
- Egg: Acts as your binder, holding all these components in place so they stay intact when they hit the hot oil.
- Diced onion: The subtle savory note that makes people ask, "What's in these?" even though they can't quite place it.
- Fresh chives or scallions: Optional, but they add a gentle onion whisper and a little brightness.
- Vegetable oil: You need enough for deep frying, and maintaining that 350°F temperature is more important than you'd think.
Tired of Takeout? 🥡
Get 10 meals you can make faster than delivery arrives. Seriously.
One email. No spam. Unsubscribe anytime.
Instructions
- Blend your dry mixture:
- Whisk together the cornmeal, flour, baking powder, baking soda, sugar, salt, black pepper, and cayenne in a large bowl. This is your moment to be thorough—make sure everything is evenly distributed so no bite is surprisingly spicy or bland.
- Combine the wet base:
- In a separate bowl, whisk the buttermilk and egg until they're completely combined and the egg isn't streaky. This matters more than you think when it comes to even cooking.
- Bring it together gently:
- Pour the wet mixture into the dry and stir just until everything is incorporated—lumpy is your friend here. Overmixing develops gluten and makes them tough instead of tender.
- Add the flavor layer:
- Fold in the diced onion and chives. Let the batter rest for 5 minutes on the counter; this gives the cornmeal a chance to absorb moisture and creates a sturdier hushpuppy.
- Heat your oil properly:
- Get that vegetable oil to 350°F (175°C) in your deep fryer or heavy-bottomed pot. Use a thermometer—this temperature makes all the difference between greasy and crispy.
- Fry with confidence:
- Using two spoons or a small ice cream scoop, drop heaping tablespoonfuls of batter into the hot oil in small batches. Crowding the pan drops the temperature and gives you oily instead of crispy.
- Watch them transform:
- Fry for 2–3 minutes, turning occasionally with a fork or slotted spoon, until they're deep golden brown all over. They'll sink at first, then float—that's when you know they're cooking.
- Drain and serve:
- Lift them out with a slotted spoon and let them rest on paper towels to shed excess oil. Serve while they're still warm and the outside is still crackling.
 Save
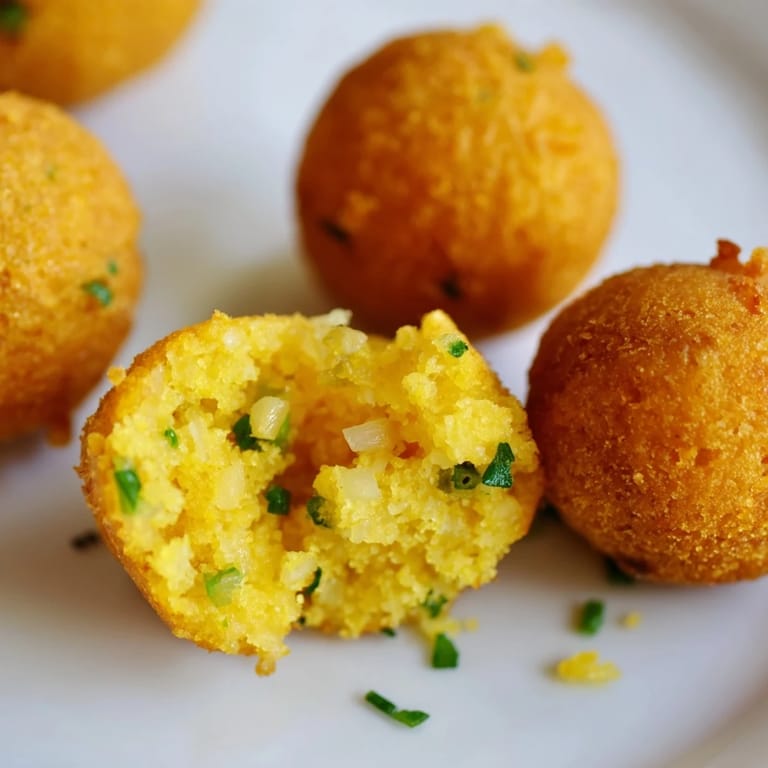
Save There's something almost meditative about standing at the stove, watching these little golden spheres bob up and down in the bubbling oil. The kitchen fills with this warm, comforting aroma, and suddenly you understand why people have been making hushpuppies the same way for generations—because they're just that good, and they bring people together in the most unpretentious way.
Flavor Variations to Explore
Once you nail the basic recipe, the door opens to all sorts of delicious territory. A pinch of smoked paprika adds a subtle depth, while minced jalapeño brings heat and brightness. Some cooks swear by a little grated sharp cheddar folded in at the end, and honestly, they're not wrong—it creates this savory depth that makes them hard to resist.
Serving and Pairing Ideas
Hushpuppies are a vehicle for whatever you want to dip them in. Tartar sauce is the classic move, but honey butter is a revelation if you're in a sweet mood. They're absolutely perfect alongside fried fish or shrimp, but I've also served them as an appetizer with hot sauce for dipping, and they disappeared before I could set the platter down.
Storage and Make-Ahead Tips
Fresh hushpuppies are always best, but you can make the batter up to 4 hours ahead and keep it in the fridge—the flavors actually deepen a bit. Cooked leftovers can be refrigerated for up to 3 days and reheated in a 350°F oven until they're crispy again, though honestly, people rarely leave any behind.
- Freeze uncooked batter in scoops on a baking sheet, then transfer to freezer bags for up to 2 months—fry straight from frozen, adding just a minute or two to cooking time.
- If you're cooking for a crowd, you can fry a first batch and hold them in a warm oven while you finish the rest.
- A wire rack instead of paper towels lets air circulate around them, keeping the bottoms from getting soggy while they cool.
 Save
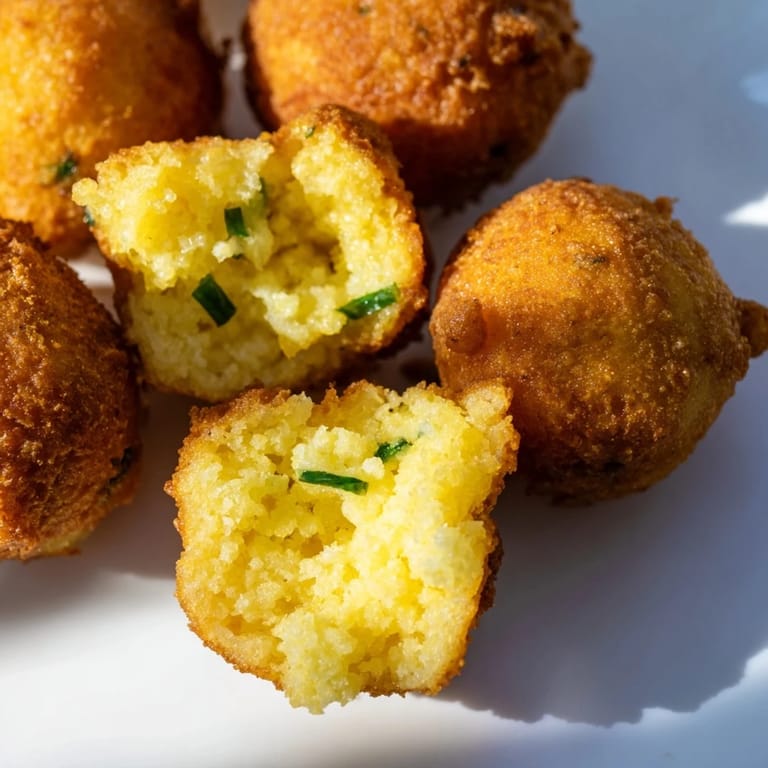
Save These little golden puffs are a reminder that some of the best food doesn't need to be complicated—just honest, warm, and made with care. Once you've tasted a perfect hushpuppy straight from the oil, you'll understand why they've been a beloved staple for so long.
Recipe Q&A
- → What gives these cornmeal balls their crispy texture?
The cornmeal combined with a hot deep-frying technique creates a crispy, golden crust while keeping the interior tender.
- → Can I add spice to the batter?
Yes, adding cayenne pepper or smoked paprika lends a pleasant heat and depth without overpowering the mild corn flavor.
- → What is the purpose of letting the batter rest before frying?
Resting helps the cornmeal absorb moisture, resulting in a better texture and a fluffier interior once fried.
- → Are there alternatives to buttermilk in the wet ingredients?
You can substitute buttermilk with milk combined with lemon juice or vinegar to achieve a similar tang and acidity.
- → How do I know when the cornmeal balls are perfectly cooked?
They should be golden brown on the outside and crisp, with a tender, cooked-through interior when fried for 2-3 minutes at 350°F.