 Save
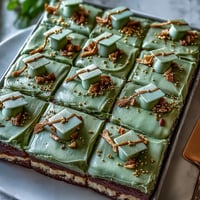
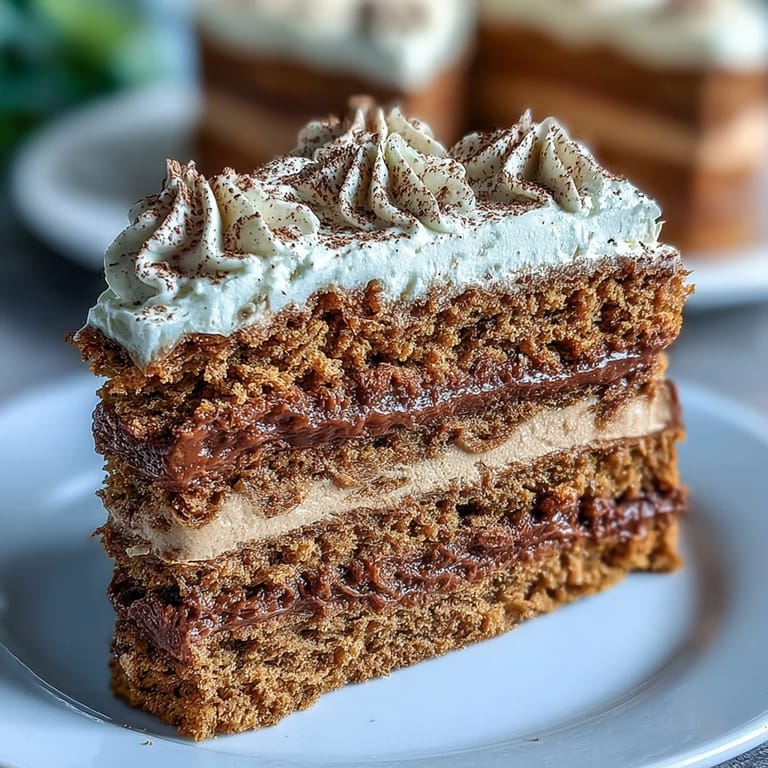
Save The aroma of hojicha always stops me in my tracks. I was browsing a tiny Japanese market when the shopkeeper offered me a sample of this roasted tea, and its warm, toasty fragrance felt like being wrapped in a cozy blanket. That evening, I couldn't stop thinking about how those caramel notes would translate into dessert. Something about the gentle smokiness seemed perfect for a cake that wouldn't be too sweet, just comforting and refined.
I first made this for my grandmother's birthday. She's traditionally suspicious of anything that isn't a classic vanilla sponge, but I watched her eyes light up after that first bite. She kept asking about the tea, turning the cake around on her plate as if trying to solve a delicious mystery. Now whenever I visit, she casually asks if I'm bringing that tea cake.
Ingredients
- 4 large eggs, room temperature: Cold eggs won't whip up properly, so let them sit out for at least 30 minutes
- 120 g granulated sugar: This amount hits the sweet spot without overpowering the delicate tea flavor
- 120 g cake flour, sifted: The lower protein content keeps the sponge tender
- 20 g hojicha powder: Sift this twice to break up any clumps for even distribution
- 40 g unsalted butter, melted and cooled: Let it cool to room temp or it'll deflate your precious batter
- 30 ml whole milk, room temperature: Combining this with the butter helps it incorporate smoothly
- 1/4 tsp fine sea salt: A pinch of salt actually heightens the tea's natural sweetness
- 300 ml heavy cream (minimum 35% fat): Higher fat content means stable peaks that won't weep
- 40 g powdered sugar: The cornstarch in powdered sugar helps stabilize the whipped cream
- 10 g hojicha powder: This gives the cream that beautiful amber color and intense flavor
- 1 tsp vanilla extract: Pure vanilla, please, it bridges the gap between tea and cream perfectly
Tired of Takeout? 🥡
Get 10 meals you can make faster than delivery arrives. Seriously.
One email. No spam. Unsubscribe anytime.
Instructions
- Warm the egg mixture:
- Whisk eggs and sugar over simmering water until warm to the touch, about 40°C, which helps dissolve the sugar and create a stable foam
- Whip to ribbons:
- Beat on high speed until the mixture is pale, thick, and tripled in volume, about 7 minutes, then reduce speed for one final minute to stabilize the structure
- Fold in the dry ingredients:
- Sift flour, hojicha, and salt together, then gently fold into the eggs in two additions using a rubber spatula, being careful not to deflate the batter
- Temper the butter mixture:
- Stir a scoop of batter into the melted butter and milk first, then fold this back into the main bowl to ensure even distribution without sinking
- Bake the sponge:
- Pour into your ungreased pan, tap to release air bubbles, and bake for 23 to 25 minutes until the top springs back when touched
- Cool completely:
- Let the cake rest in the pan for 10 minutes before running a knife around the edges and turning it out onto a rack to cool entirely
- Whip the cream:
- In a chilled bowl, sift together hojicha and powdered sugar, then whip with heavy cream and vanilla to medium stiff peaks
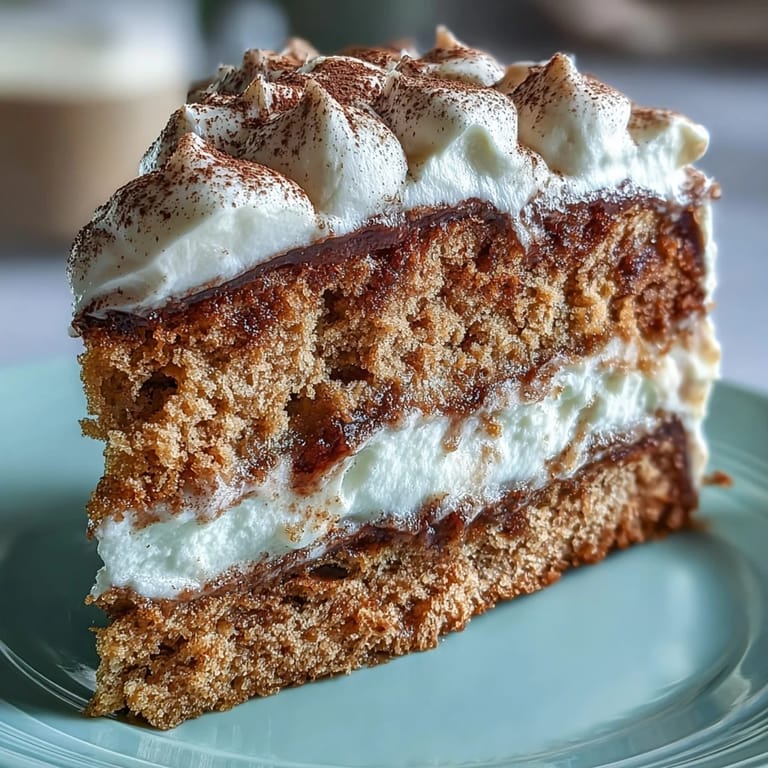
- Assemble the cake:
- Split the cooled sponge horizontally, spread generous layers of hojicha cream between each, then frost the top and sides before chilling for at least 30 minutes
 Save
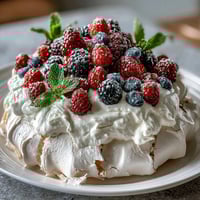
Save This cake has become my go-to for bringing to friends' homes. There's something so satisfying about watching people take that first curious bite, their expressions shifting from uncertainty to absolute delight. The hojicha makes it feel special without being pretentious.
Making It In Advance
You can bake the sponge a day ahead and wrap it tightly in plastic at room temperature. The whipped cream is best made the same day you plan to serve, though the assembled cake holds up beautifully overnight in the refrigerator.
Working With Hojicha
The powder can be stubborn about dissolving, especially in cold cream. I always sift it twice, once with the dry ingredients for the cake and again with the powdered sugar for the cream. Those extra thirty seconds save you from speckled cream or bitter clumps in your sponge.
Serving Suggestions
This cake deserves to be the star, so keep accompaniments simple. A cup of plain hojicha tea highlights the flavors without overwhelming them. The cake improves after a few hours in the fridge, as the flavors meld and the sponge absorbs some moisture from the cream.
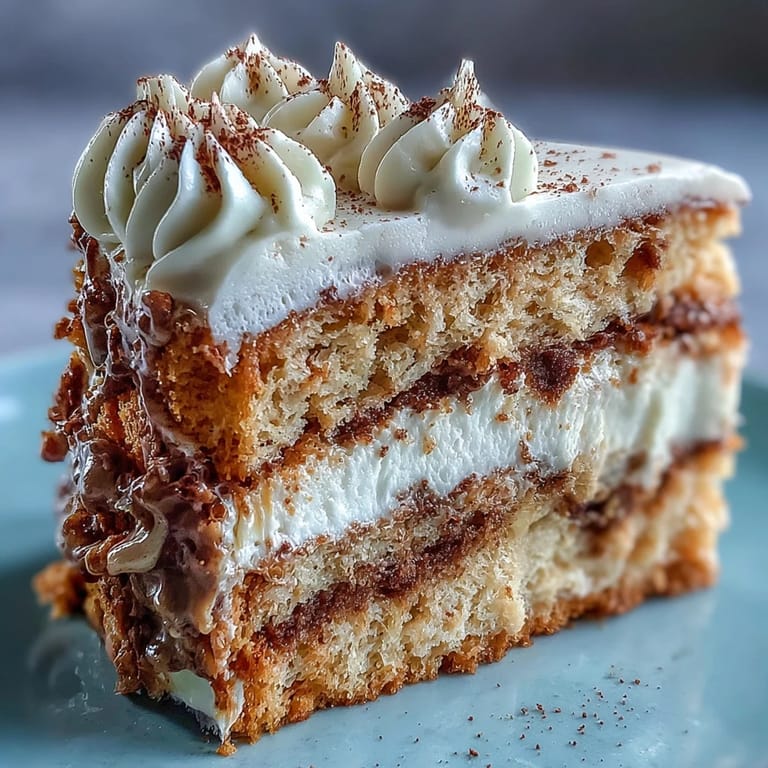
- Brush the cake layers with hojicha syrup before adding cream for extra moisture
- A dusting of extra hojicha powder on top looks stunning and amps up the flavor
- Let refrigerated cake stand at room temperature for 15 minutes before serving
 Save
Save There's quiet joy in a cake that doesn't scream for attention but still earns every compliment. This one has found its way into my regular rotation, and I suspect it will find a place in yours too.
Recipe Q&A
- → What makes hojicha different from other Japanese teas?
Hojicha is roasted green tea that develops a deep, earthy flavor with notes of caramel and minimal bitterness. The roasting process reduces caffeine content while creating a warm, smoky aroma that pairs beautifully with creamy desserts.
- → Can I substitute hojicha powder with matcha?
While possible, matcha will create a more bitter and grassy flavor profile. Hojicha's roasted character is uniquely suited to this delicate sponge. If substituting, reduce the amount slightly as matcha has a more intense flavor.
- → Why is the egg mixture warmed over simmering water?
Gently warming the eggs and sugar helps create a stable foam that achieves maximum volume during beating. This technique ensures the genoise sponge remains light and airy while still having enough structure to support the cream layers.
- → How should I store the finished cake?
Refrigerate in an airtight container for up to 3 days. The cream layers will firm up when chilled, making slices cleaner. Bring to room temperature for 15-20 minutes before serving to enjoy the softer texture and fuller flavor.
- → What can I use if I don't have cake flour?
Make your own by sifting together 100 grams of all-purpose flour with 20 grams of cornstarch. This combination mimics the lower protein content of cake flour, ensuring a tender crumb in the finished sponge.
- → Can I make this in advance?
Bake the sponge up to 24 hours ahead and wrap tightly at room temperature. Prepare the whipped cream and assemble shortly before serving. For best results, chill the assembled cake for at least 30 minutes but serve within a day.